How to set up Integrated Reporting

NOTE! Integrated Reporting now comes standard on all AmpedSense installations. This article no longer applies to recent AmpedSense functionality.


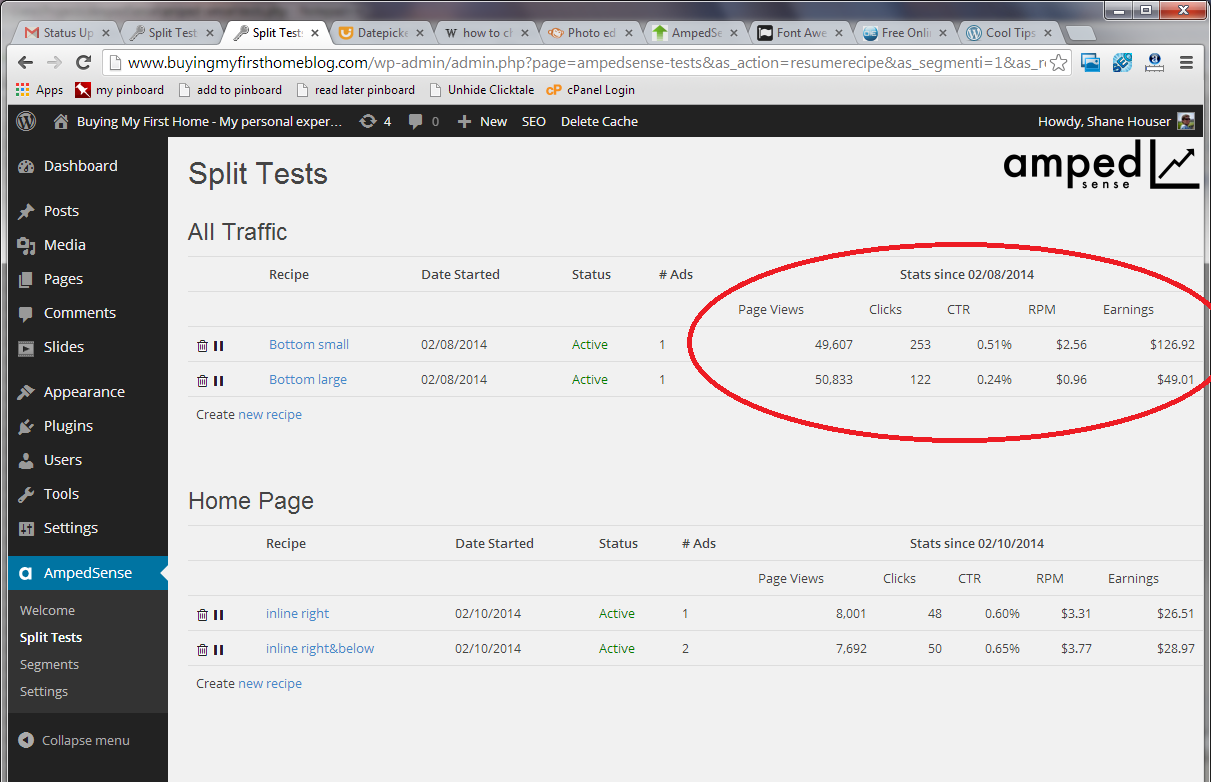
Integrated Reporting allows you to see your stats from AdSense within wordpress. By default it’s off and you have to click through to Google’s site to see your reports, but once enabled it’s all integrated within AmpedSense, making it super easy to make decisions about your split tests.

integrated reporting

Step 1: Turn it on

Turn it on. Go to the AmpedSense Settings menu. Click Enable Integrated Reporting.

Step 2: Generate Google Client Credentials

Next you need to specify your Google Client Credentials. These allow third party apps (such as AmpedSense) to access limited data from Google. Here’s how to generate them:

a. Go to the Google Cloud Console and create a new project. Name it ‘AmpedSense’, and leave the project ID as the default.

b. Click on ‘APIs & auth’, then toggle on the ‘AdSense Management API’ services.

install2-new

install3-new

c. Click on the Credentials menu, and hit Create New Client ID under OAuth. Choose ‘Web Application’ as the platform, and then copy the redirect URI from the AmpedSense wordpress settings screen and paste it into the redirect URI here. Hit ‘Create Client ID’ button and you’ll be shown a screen with the values we need. Copy the client ID and client secret from here back into the AmpedSense wordpress settings screen. ‘Save’ in AmpedSense and you’re done!

install4-new


install5-new


install6-new

Step 3: Save

Click save.

install7-new

You’re done!

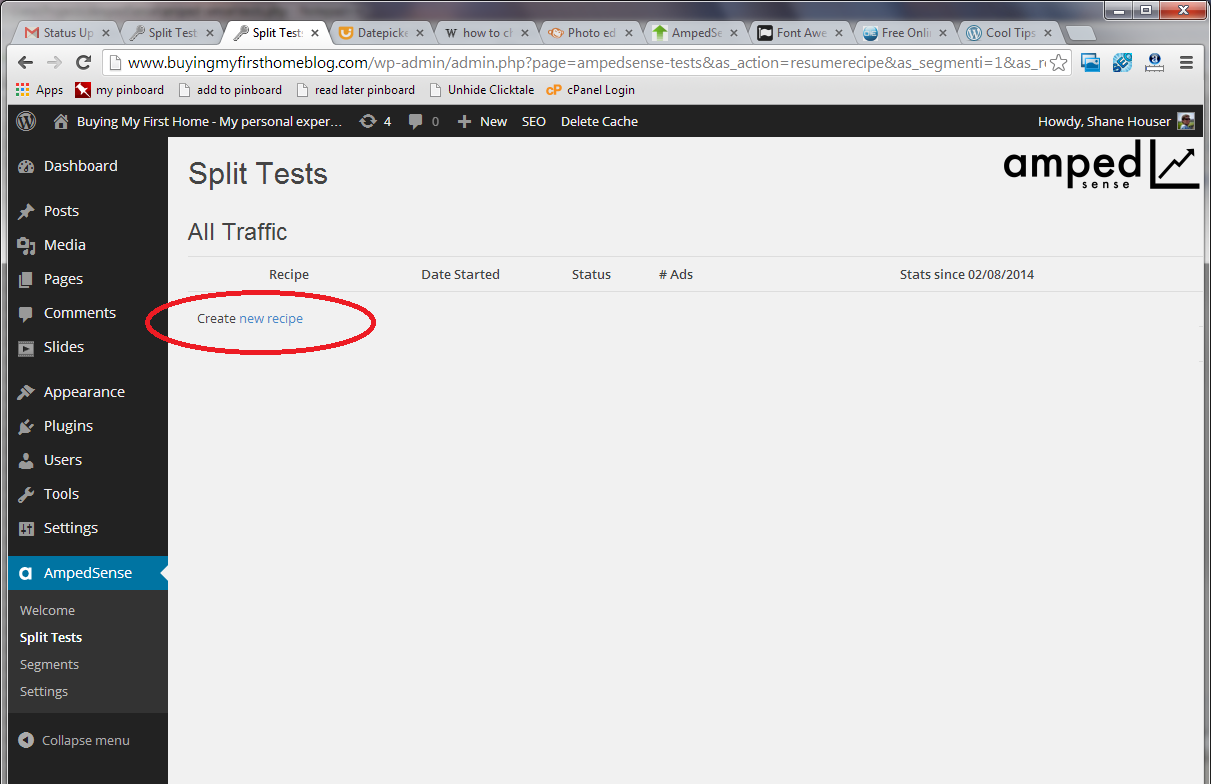
Now just go to look at your split tests and click the link at the top that says ‘Pull data from Google’

Video Tutorial

Watch this video for a demonstration of the steps above:

How to use Segments

  • Want to put some ads on your home page, and different ones on your other pages?
  • Want to prevent ads from showing on a specific page?
  • Or want to have responsive ads show for your mobile traffic?

AmpedSense achieves all of that through a feature called ‘segmenting’. Segmenting is a way of dividing your traffic up into smaller groups (‘segments’) which you can then have custom settings for. Let’s walk through how segmenting works.

How segmenting works

Luckily segmenting is pretty easy, only 2 steps.

First, create a new segment by clicking on the ‘Segments’ menu in the AmpedSense wordpress sidebar. Here you’ll see a list of all segments. There will always be an ‘All Traffic’ segment which will run your ads by default. Click ‘Create new segment’

segments menu

You’ll be presented with a simple form to name and choose the criteria for your segment. You can pick what traffic you want this segment to represent.

Devices to target:

  • All Devices
  • Desktops & Tablets
  • Tablets & Phones
  • Desktops
  • Tablets
  • Phones

Content to target:

  • All pages
  • All posts
  • Home page
  • Specific page
  • Specific post
  • Posts in category

Once you’ve saved it, you can reorder its priority. AmpedSense will start at the top of the list and stop as soon as the traffic meets the condition in the criteria. The ‘All Traffic’ segment should always be last, otherwise it will catch your traffic before it has a chance to check others.

Second, you’ll need to add ads to run on this segment (or don’t if you want this segment to not receive any ads). Go to the Split Testing screen and you’ll see a new area for your segment. Just create ad recipes for it like you have been for All Traffic before!

segment new

Some example scenarios

Place specific ads on all posts (not pages)

1. Create a segment for ‘All devices’ and ‘All posts’

2. Reorder segments so this segment has the preferred priority.

3. Create split tests for this new segment.


Don’t show ads on a page

1. Create a segment for ‘All devices’ and ‘Specific page’, and pick the page you want to exclude.

2. Reorder segments so this segment has the top priority.

3. Don’t add any ad recipes to this segment.


Use responsive ads on posts for mobile traffic

1. Create a segment for ‘Phones’ and ‘All posts’

2. Reorder segments so this segment has the top priority.

3. Create split tests for this new segment by creating responsive ads

Hiding segments

There are some segments that you’ll never want ads to appear on. For those, you can toggle whether or not you’re testing them so that they don’t show up in your reports. Simple hit the link that changes the Testing from ‘Yes’ to ‘No’:

segmenttoggle

Placing AdSense Ads in the WordPress Sidebar

One of the greatest features of AmpedSense that not many split testers allow you to do is inject your AdSense ads into the sidebar of your wordpress site. It’s really easy to do!

2 Steps

1) After downloading and installing AmpedSense, login to your WordPress site. From the Appearance-> Widgets screen, find the “AmpedSense Sidebar A” widget in the list of available widgets. This widget acts as a placeholder for you to put your ads. Drag and drop that widget into your sidebar container.

You’ll notice that there’s also a “AmpedSense Sidebar B” and “AmpedSense Sidebar C.” This gives you the ability to test multiple positions on your sidebar, if you wish to try a top placement vs bottom, or left vs right sidebar.

addsidebarwidget


2) Simply create your AdSense split test, and specify “AmpedSense Sidebar A” as the ad location.


Bonus: Since these ad positions are set by a widget, you are not limited to using them in just sidebars. If there’s another area of your site (perhaps, footer?), you can drag and drop the widget to the desired location and test with that custom location!

How To Install AmpedSense

Follow these instructions to install AmpedSense into your WordPress site:

1. Download the latest copy of AmpedSense.

2. Then choose either of the two installation methods:

a. Using the Upload Manager in your WordPress Admin:

i. After logging into your wordpress admin, click Plugins -> Add New.

ii. Find the link at the top to ‘Upload’, then click ‘Choose file’ and locate the .zip file that was provided to you.

iii. Click the ‘Install Now’ button, and the plugin will automatically be installed!

iv. From the installed plugins screen, choose to ‘Activate’ AmpedSense

b. Uploading via FTP:

i. Login to your site with an FTP client

ii. Within your WordPress installation, browse to the ‘/wp-content/plugins’ directory.

iii. Unzip the contents of the .zip file provided, and transfer the ‘amped-sense’ folder.

iv. Login your wordpress admin. From the installed plugins screen, choose to ‘Activate’ AmpedSense.

3. Once the plugin has been uploaded and activated, you’re ready to create your first split test

Minimum Requirements

An installation of WordPress 3.5 or greater

Video Tutorial

Watch this video for a demonstration of the steps above:

Creating an AdSense Split Test in WordPress

After you’ve installed AmpedSense, you’re ready to start AB testing! Get excited – you’re going to increase your AdSense revenue and know you’ve got the best possible AdSense setup!

1. Determine Your Test Plan

Think about your testing strategy. Do you want to test the size of your ads? Which sizes? Or do you first want to test the type of ads – banner or text? Or something else? You will eventually be able to test all different attributes of your ads, but it’s best to come up with an AdSense testing plan so your first test doesn’t have 32 combinations running (the more combinations, the longer it takes for your test to complete!).

2. Decide the Traffic Segment of your Test

Do you want these ads to be shown on all pages and posts of your site, or perhaps just your index page? Do you want this to run on all devices, or maybe just your mobile traffic. Define how you want to seperate the traffic on your site by setting up some segments first.

3. Create Your Test

Ad recipes are ads (or sets of ads) that you test against other recipes to see which recipe gives you the most revenue. You will have multiple recipes running whenever you are testing. Let’s pretend for your first test you decide to test the size of your ads. We’ll create multiple recipes with the same settings, except the ad size will be different. In the AmpedSense admin, click ‘Create new recipe’ under the segment you want this to run in.

create1

Choose the first size you’re going to test, for example: 300 x 250 Medium Rectangle. Set the ad type, where you want it to display, and name it. If you want to see how it looks before you save it, hit the ‘Preview’ link.

create

Before you can save it, you must let Google know about this ad, by creating a custom channel. After you’ve named your ad, a channel name will be generated for you in the gray box. Click on the link to go to Google AdSense and paste the name of the channel as what was specified. Once the new channel has been created, go back to your AmpedSense admin and finish creating the ad by clicking ‘Create Ad Recipe’.

createchannel

You’ll be able to see your new ad listed in the table. Go ahead and click on one of the preview links so you can see a sample of your new ad in action!

Now repeat the same process except change the ad size. Keep all other values the same, and give it a different name. Keep going for as many ad sizes you want to try!

4. You’re Done!

That’s it! Your ads are now running and you can start to see stats in about 30 minutes (Google delays the reporting a bit).

Monitor your test over the next few days to see how your ad recipes are performing in your AB test. It may take as few as a couple hours to determine a winner, or as long as a few weeks depending on how much traffic you get. Examine the CTR, RPM, and earnings and you’ll be able to see which ad setup is the most profitable for you. If you are having a hard time, use your favorite split test calculator.

Once you’re happy with the results of a split test and ready to pick a winner, simply delete the loser ads in rotation and all your traffic will see the winning configuration. Let the money roll in!

create

Video Tutorial

Watch this video for a demonstration of the steps above: