NOTE! Integrated Reporting now comes standard on all AmpedSense installations. This article no longer applies to recent AmpedSense functionality.
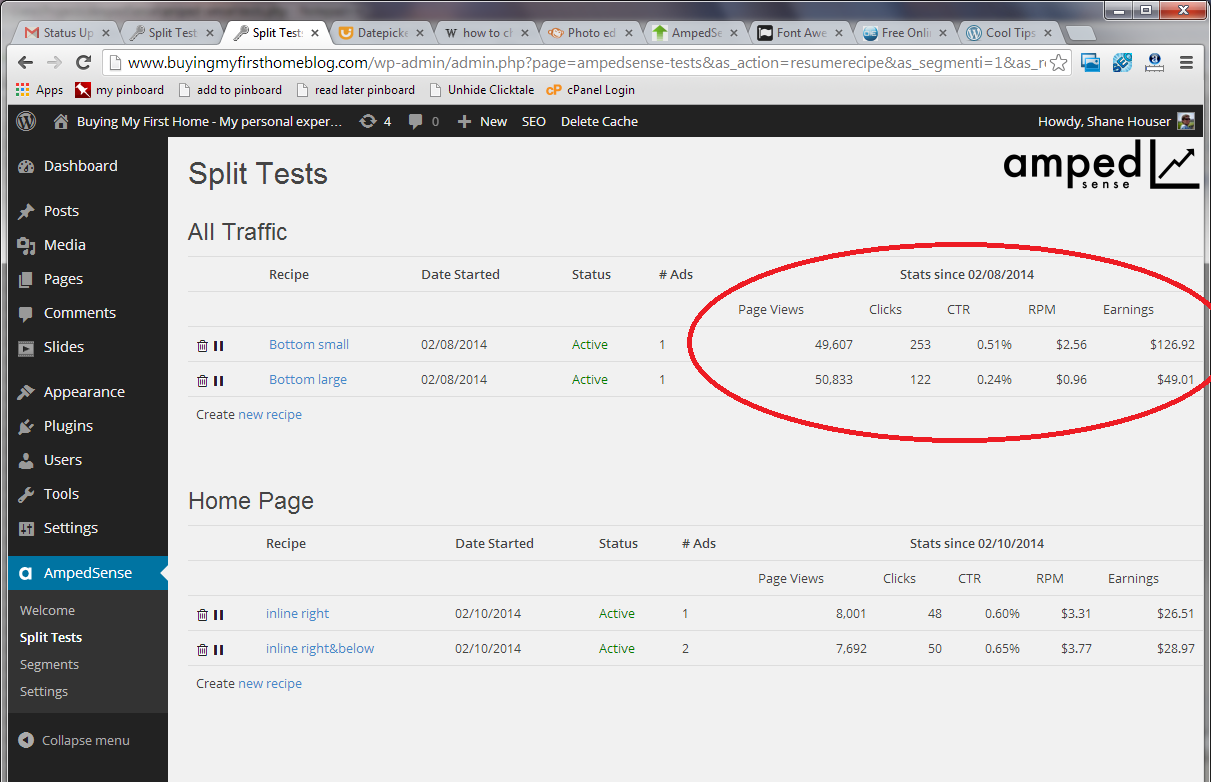
Integrated Reporting allows you to see your stats from AdSense within wordpress. By default it’s off and you have to click through to Google’s site to see your reports, but once enabled it’s all integrated within AmpedSense, making it super easy to make decisions about your split tests.

Step 1: Turn it on
Turn it on. Go to the AmpedSense Settings menu. Click Enable Integrated Reporting.
Step 2: Generate Google Client Credentials
Next you need to specify your Google Client Credentials. These allow third party apps (such as AmpedSense) to access limited data from Google. Here’s how to generate them:
a. Go to the Google Cloud Console and create a new project. Name it ‘AmpedSense’, and leave the project ID as the default.
b. Click on ‘APIs & auth’, then toggle on the ‘AdSense Management API’ services.
c. Click on the Credentials menu, and hit Create New Client ID under OAuth. Choose ‘Web Application’ as the platform, and then copy the redirect URI from the AmpedSense wordpress settings screen and paste it into the redirect URI here. Hit ‘Create Client ID’ button and you’ll be shown a screen with the values we need. Copy the client ID and client secret from here back into the AmpedSense wordpress settings screen. ‘Save’ in AmpedSense and you’re done!
Step 3: Save
Click save.
You’re done!
Now just go to look at your split tests and click the link at the top that says ‘Pull data from Google’
Video Tutorial
Watch this video for a demonstration of the steps above:


